Make
Siltronix
Model
1011C
Power Wiring
The power cord black or 120 vac "hot" lead goes/solders to the jack/socket pin 3 only. The power cord white or 120 vac "neutral" lead goes to the jack/socket pin 10 only. The power cord green or "ground" lead goes to jack/socket pin 7. You might consider soldering it at the same time your complete the pin 7/8 jumper mentioned below. There are two jumpers inside the jack which need to be made for proper operation. Both jumpers are made to tabs that are right next to each other. You can use simple bare wire for the very short lenghts between adjacent solder tabs. Solder a short bare wire jumper from tab 5 to tab 6. Solder a seperate short bare wire jumper from tab 7 to tab 8. Tab 7 also shares a common connection with the green power cord ground lead. Securely solder tab 7 when both connections are properly made.
notes
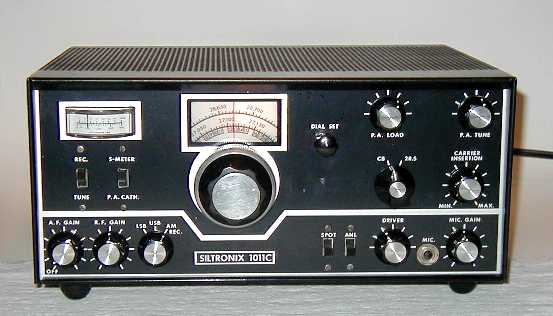
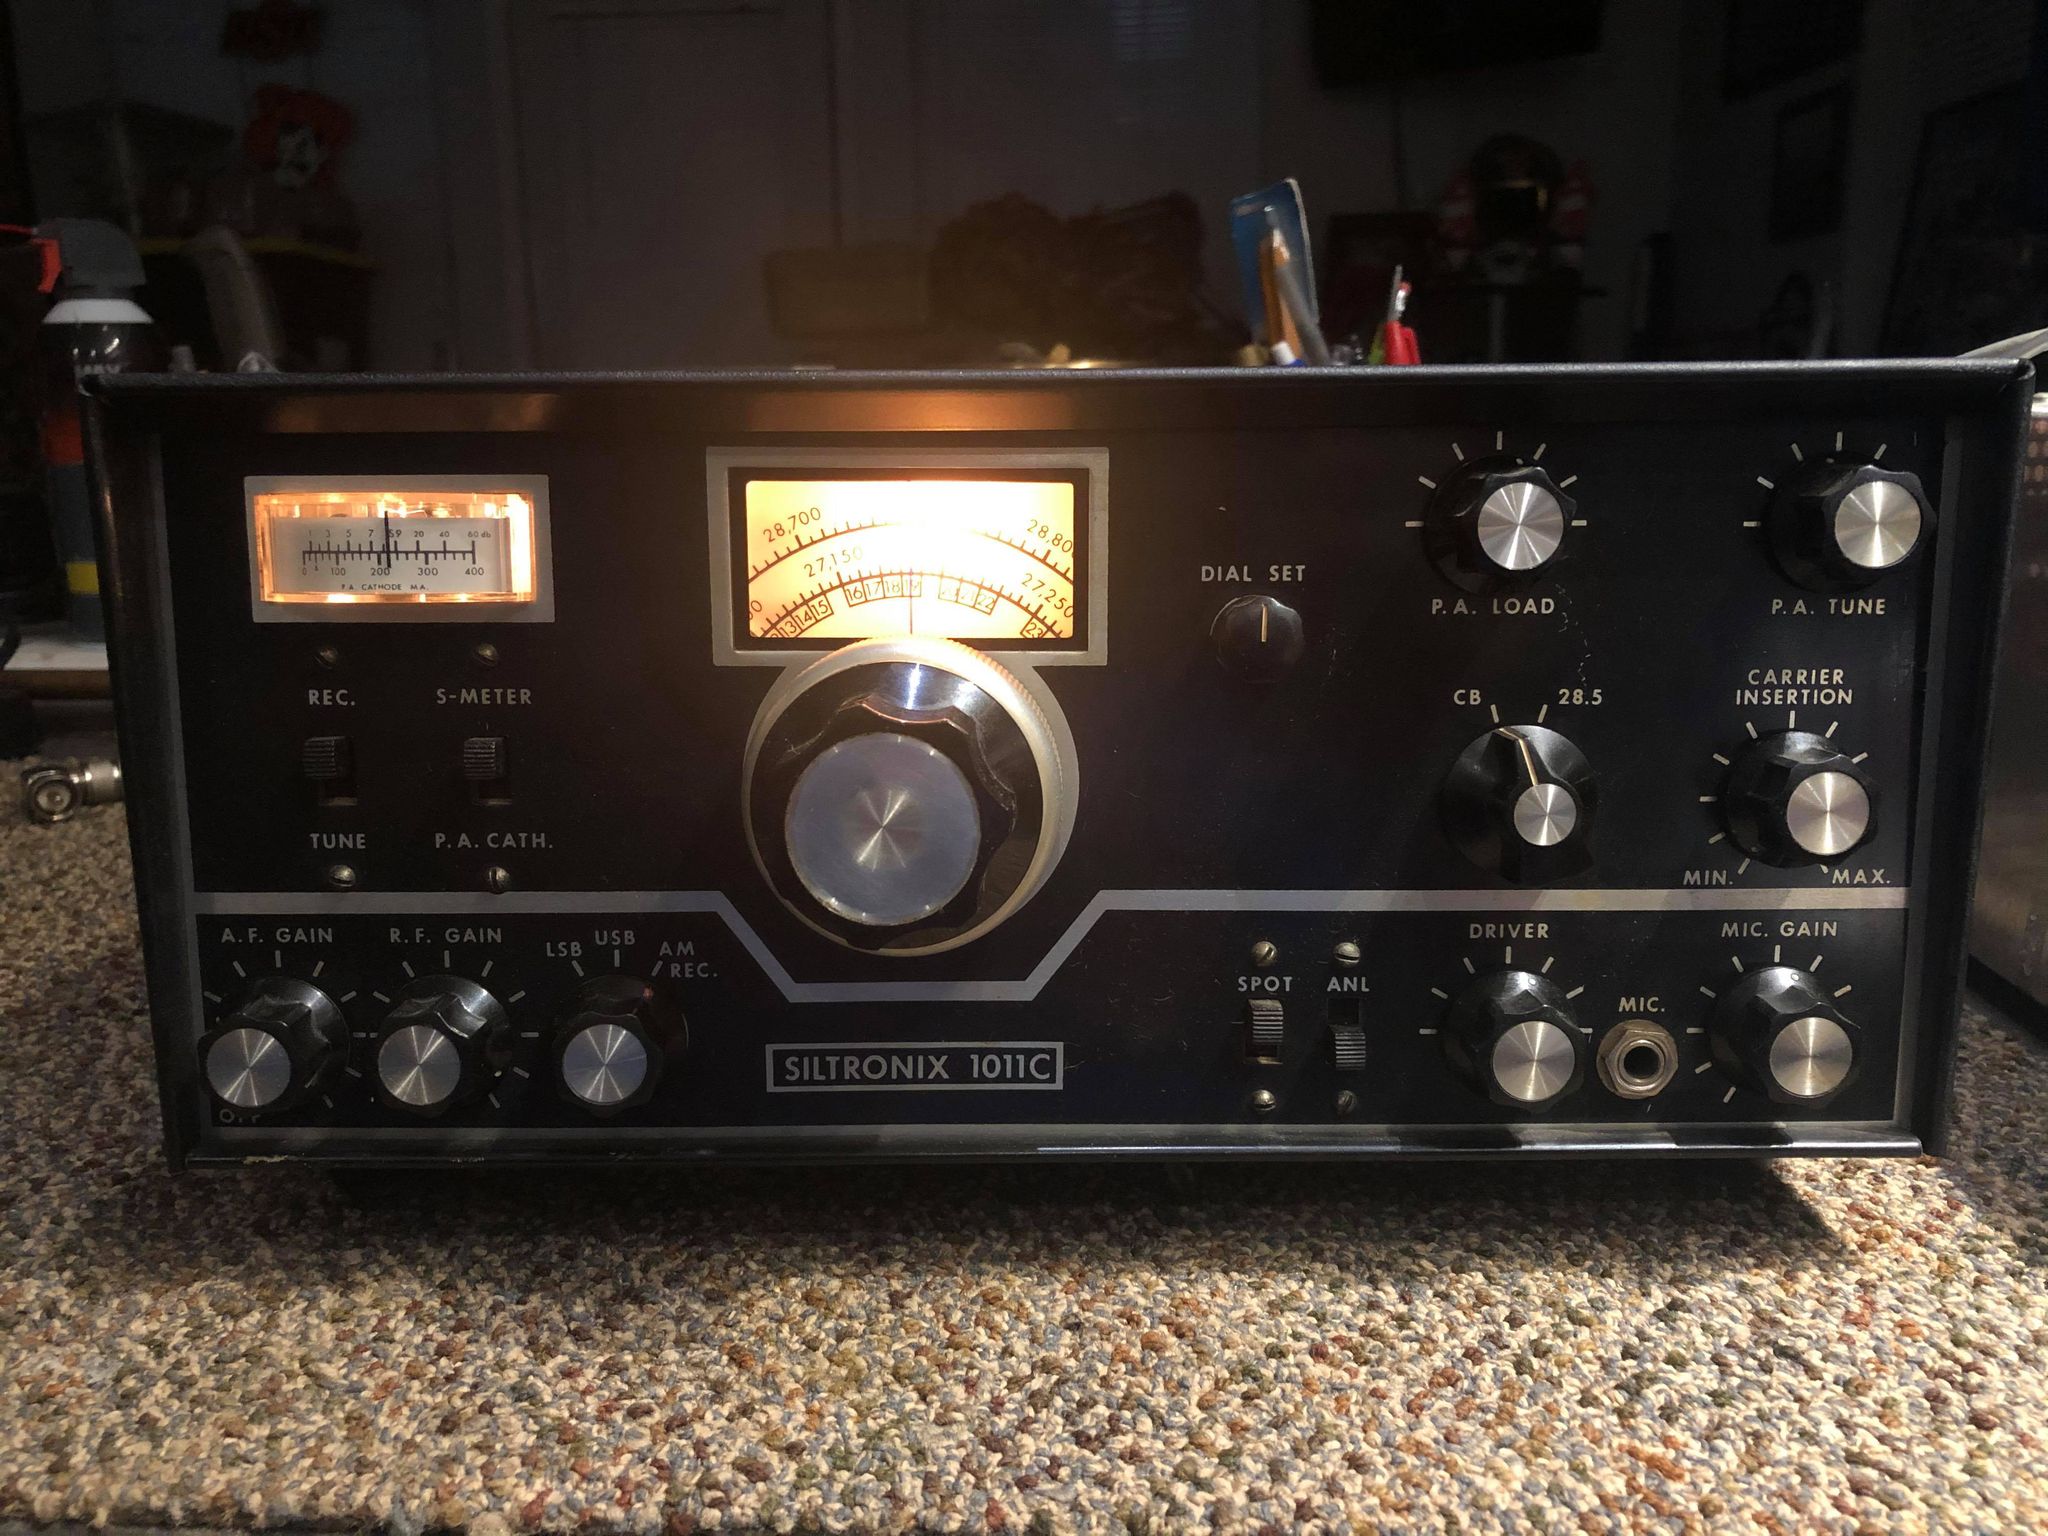
In the Siltronix 1011C & 1011D models had two band positions (down from 5 on the 1011 & 1011B)
Compared to the earlier rigs, the 1011C and 1011D pictures clearly show the removal of the left side front CAL-REC-Tune/CW function rotary switch. The rotary function was replaced by a two-position spring loaded REC-TUNE push slider type switch. The new receiver AM SPOT switch now appears next to the ANL switch position. The revised band-switch shows the removal of the top portions of the Ten Meter Amateur Band. We then see the later two-band range selection appear. The internal crystal calibrator and the related rotary function switch also goes away.